How to start the first campaign? Start by uploading recipients
Remember: you can only upload recipients who have explicitly agreed to receive emails by registering, subscribing, or making a purchase in your store.
Click “Add Recipients” on the main screen in your account:

We got into the recipient upload form
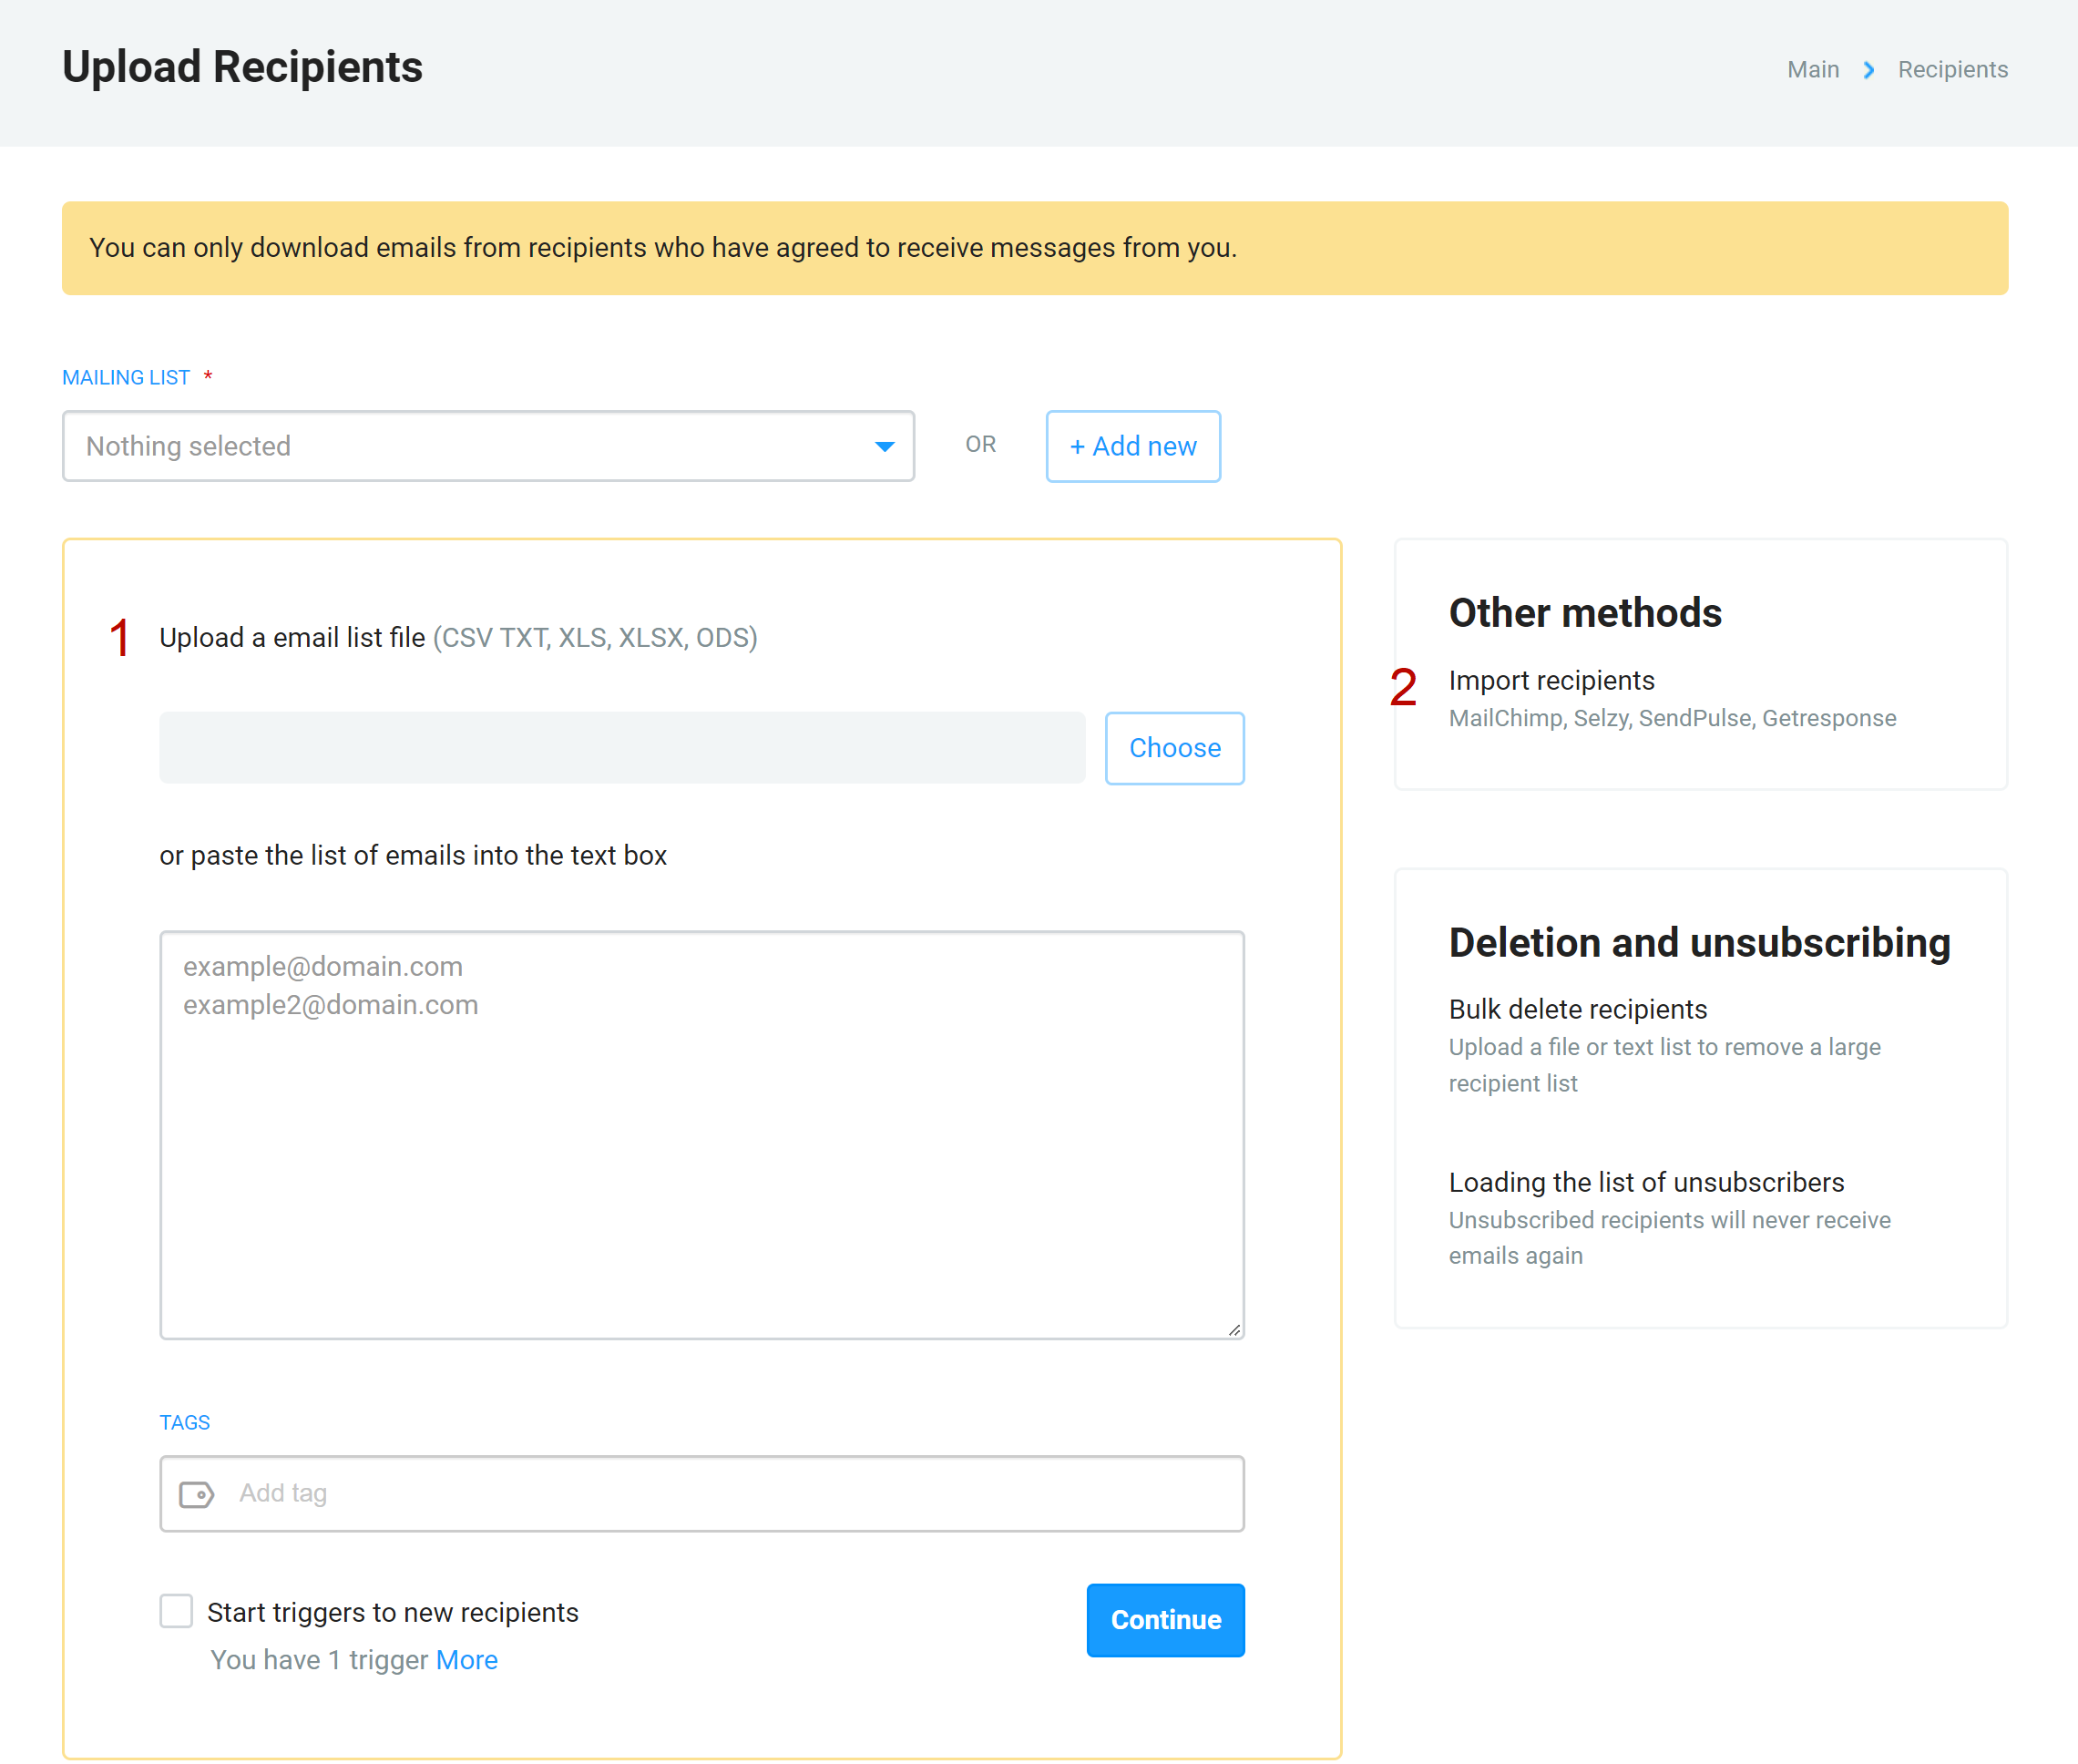
Recipients can be loaded in two ways:
- From a file or text. For example, if you have an Excel file with recipients, this method is for you.
- From another mailing service. This method is suitable for those who already run an email campaign. NiceSender can transfer recipients from services such as MailChimp, Selzy, SendPulse, GetResponse and others.
In this article, we will consider the option of loading recipients from a file.
First you need to select or create a group which the upload will be made to.

Now we select the file with contacts that we want to upload, it can be an Excel file or a regular CSV, and click “Continue”.
In the example, we are using a file with three columns: the first is email, the second is the recipient’s name, and the third is the recipient’s gender.
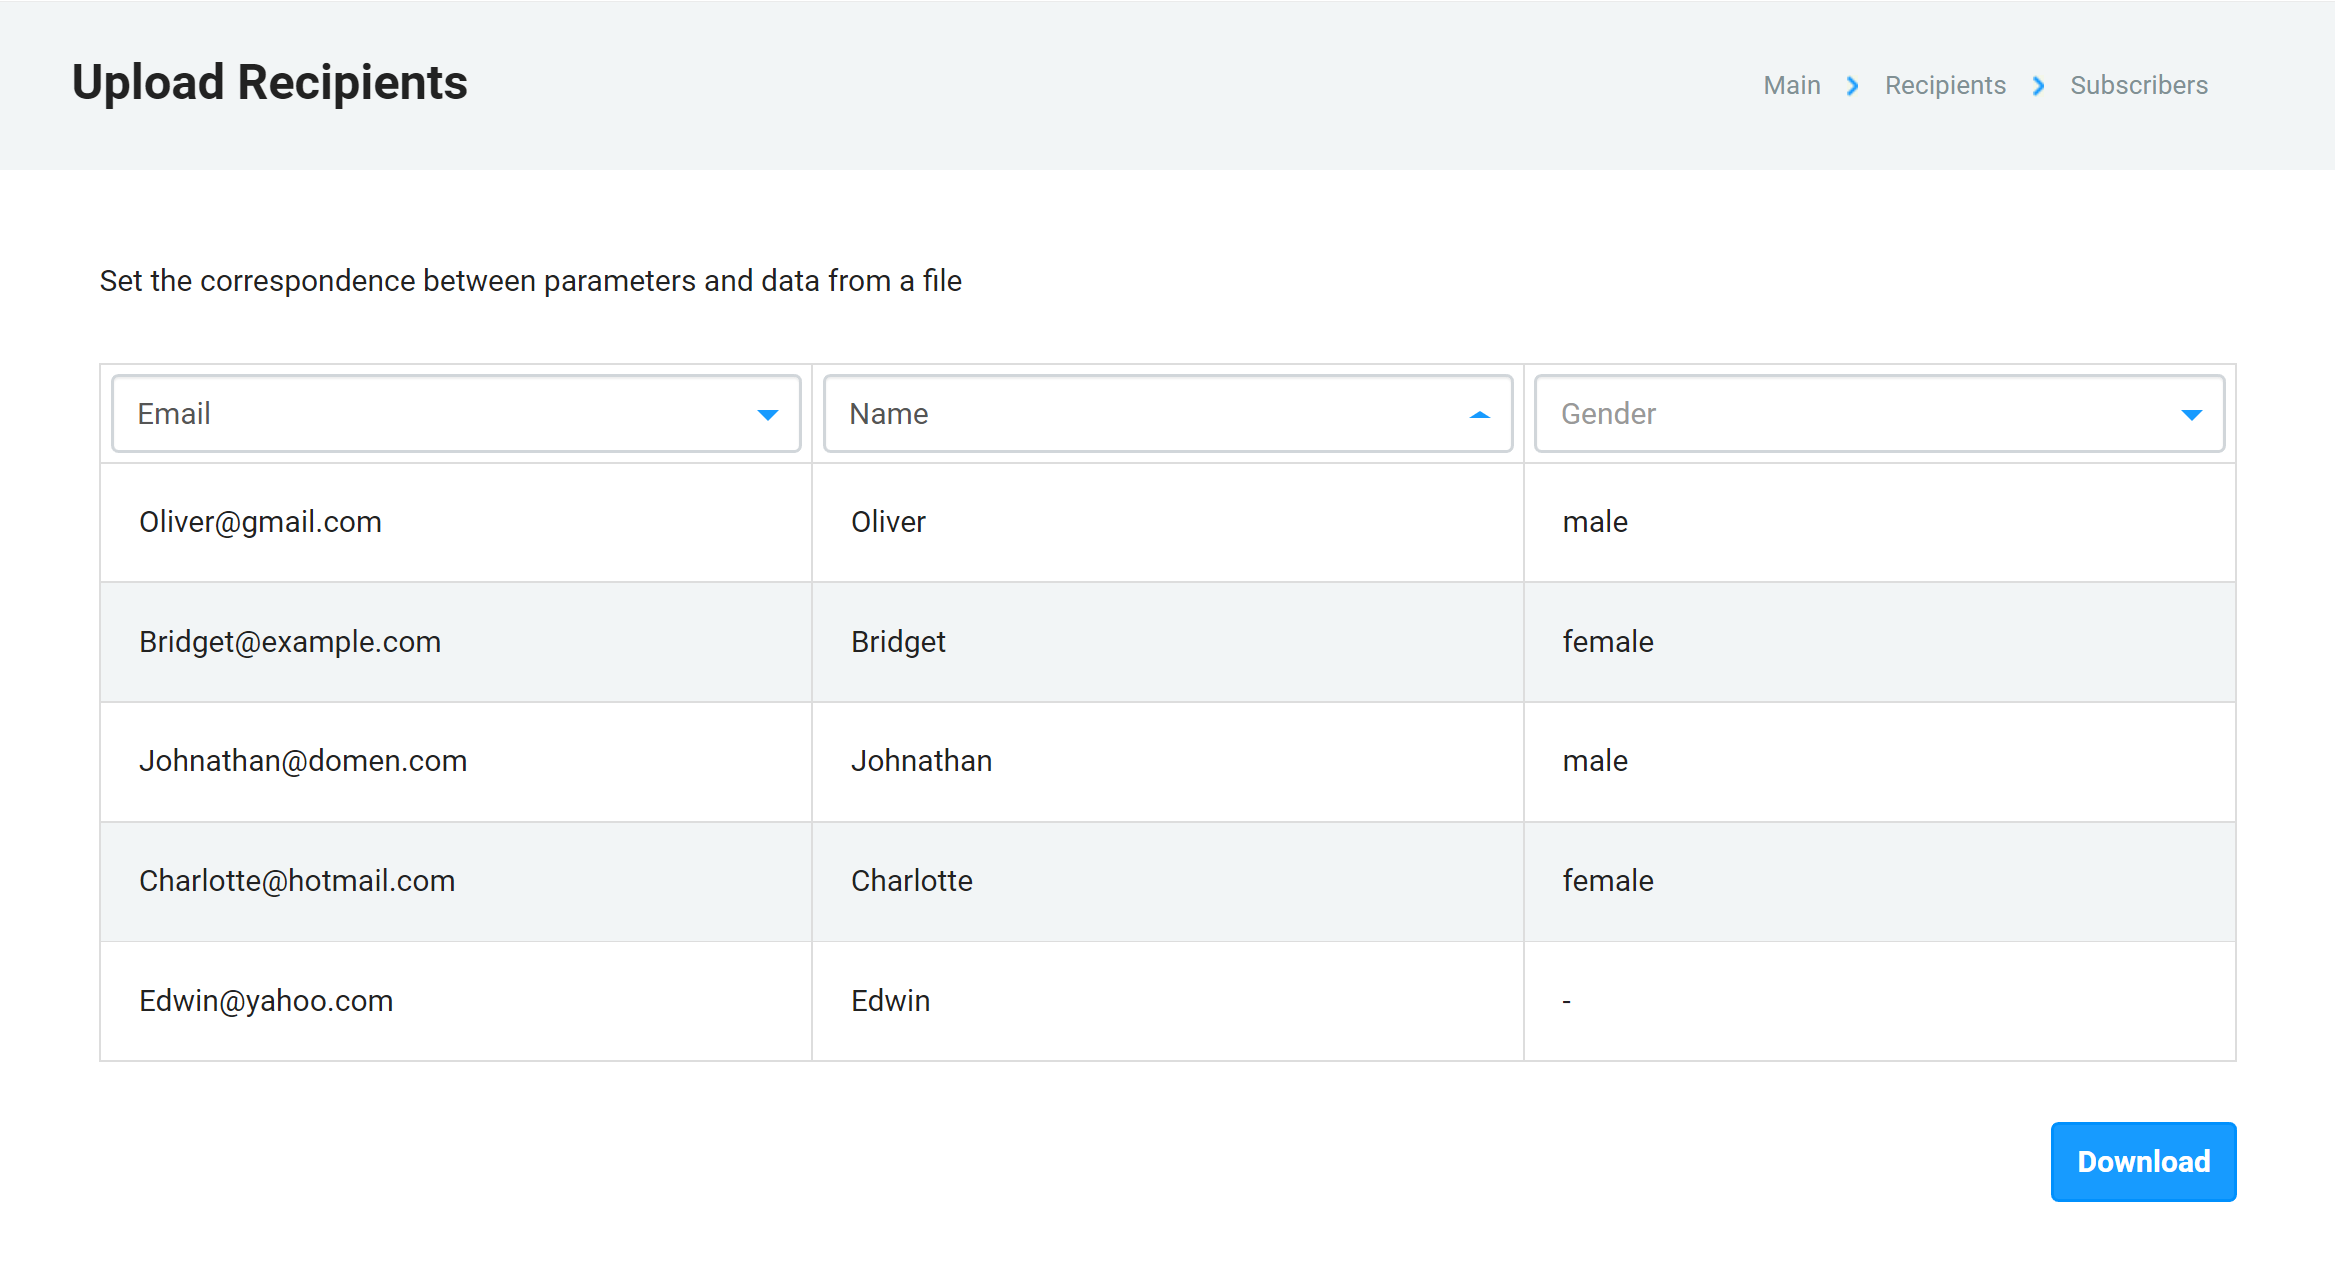
After loading, we see the first lines from the file, and above each column there is a drop-down list where you need to select the name of the parameter, in the image above we have chosen the names “Email”, “Name” and “Gender”.
Upload as many parameters of your subscribers as possible, since you can use this data for segmentation, for example, to send an email only to men if the email is targeted at them.
You can also use parameters in the email body, for example, to address the subscriber by name.
According to our research, subscribers who are addressed by name in the subject line or at the beginning of the email, all other things being equal, are 50% less likely to complain about spam.
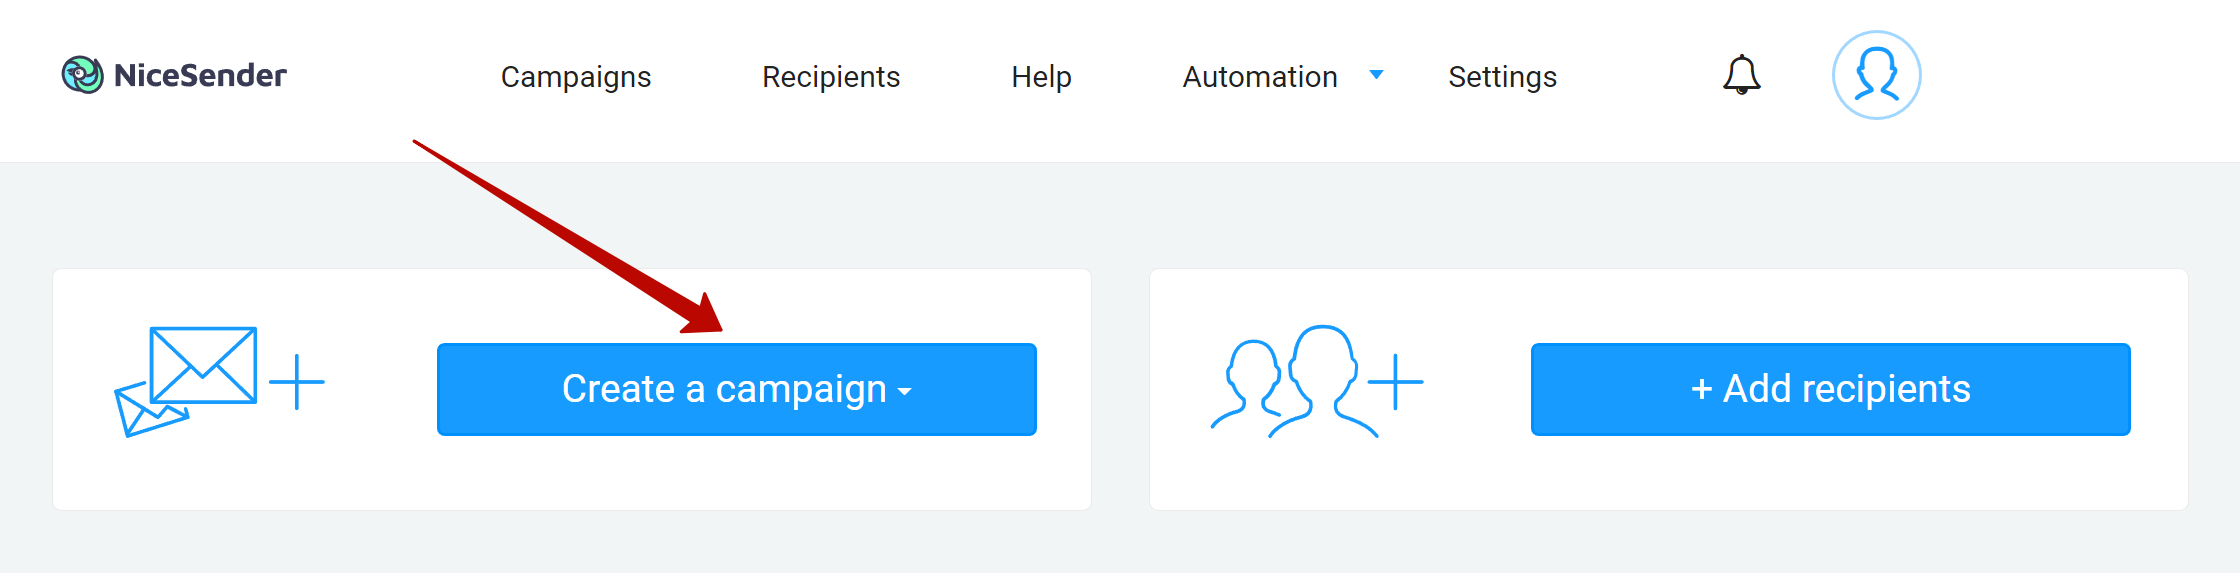
So, we have loaded the recipients, now we can create an email campaign.
To do this, on the main page of your personal account, click “Create a campaign”:
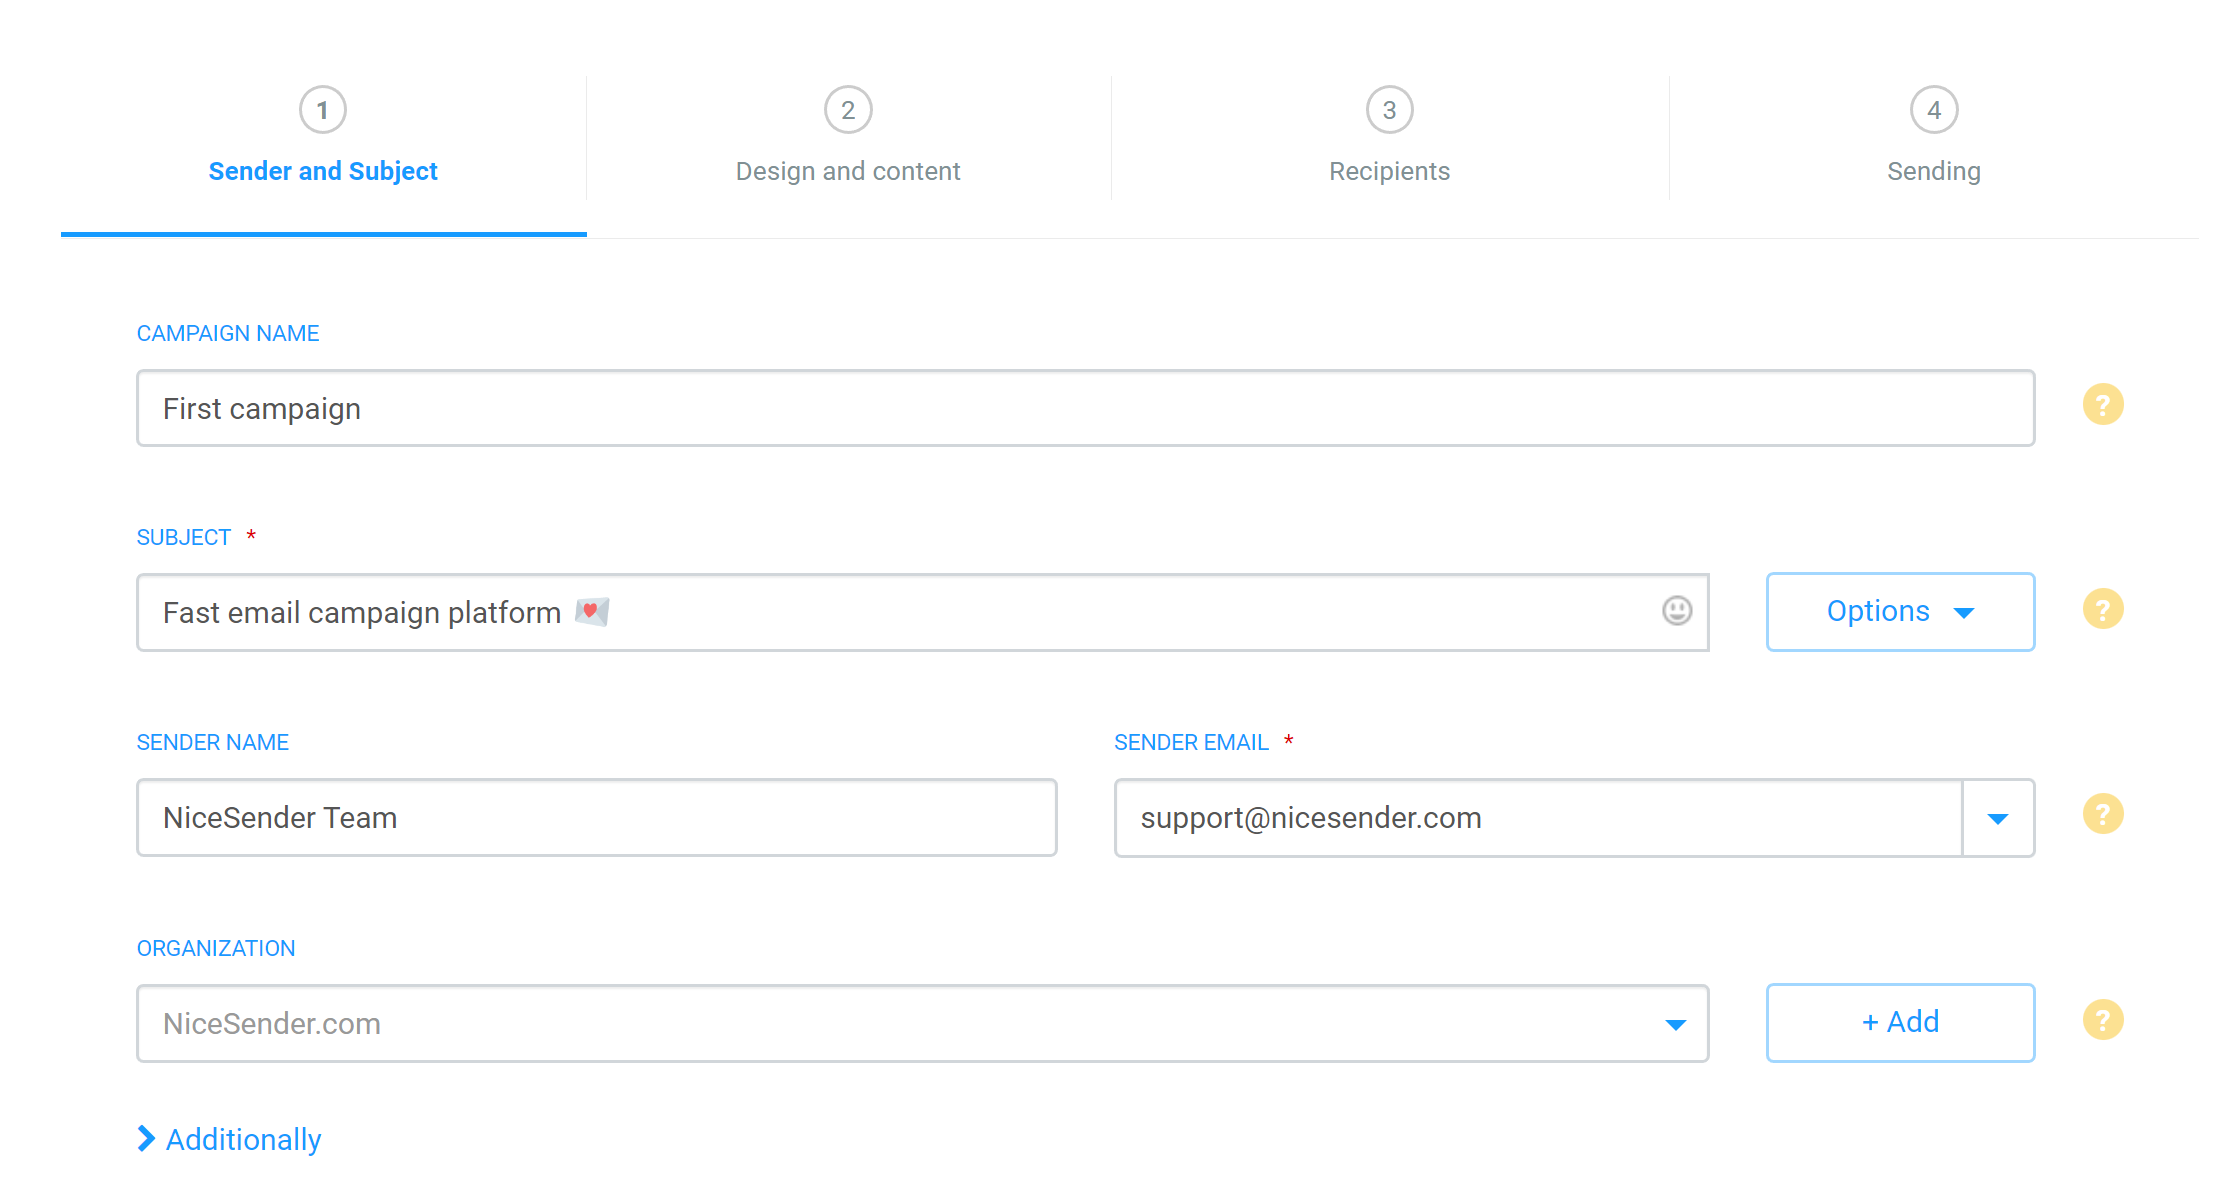
Creating a campaign consists of four simple steps

The first step is called “Sender and Subject”.
Let’s figure out what we need to fill in:
- the name of the campaign is the working name that only you will see.
- the subject of the email – write simply and intriguingly, remember that it depends on the subject whether your email will be opened or not. If email has a low open rate, don’t be afraid to experiment with the theme in the future.
- the sender’s name – most often, it makes sense to write the name of your company or the name of a manager that the client recognizes. The recipient must understand who is writing to him or her, otherwise the email may be mistaken for spam.
- the sender’s email is the email from which your email will come, and which replies will be sent to. For good results, use email on your own domain, for example support@nicesender.com, and don’t be too lazy to verify the domain, this will avoid spam problems.
- the organization – this data is filled in only during the first email campaign, and it increases the level of trust in your email campaigns from the side of postal services and recipients, so write reliable data. This information will be automatically added to the email template.
This is what I got after completing the first step:
By the way, at the bottom left there is an unobtrusive “Advanced” link.
Infrequently used features are hidden there, but I still recommend that you familiarize yourself with them:
- a preheader is a very cool feature, allows you to set a short description of the email that recipients will see in the list immediately after the subject. If you fill this field correctly, you can increase the open rate of your emails, as the preheader is visible in the list of emails even before the email is opened.
- utm tags are special tags that help track the results of your campaigns in Google Analytics etc. If for you it’s just a bunch of words, then you don’t need it.
Click “Save” and get to the second step – “Design and content”.
Here we will write the email itself. You can do this in three ways:
- In the email builder, by choosing any template you like. Open the template and edit it using the mouse and keyboard – it’s really easy. In addition, the email will be good to display on mobile and desktop computers.
- In a regular editor, this is something like a Word.
- In the html editor, if you make up the template yourself. If you choose this option, then you understand what I mean 🙂
After composing the email, click “next” and get to the page for selecting recipients:
I recommend doing the first campaign to a small base of recipients.
I will send emails to all recipients from the “NiceSender Subscribers”. I check the box for this group and clicking “save” to go to the last step.
The step is called “Sending”, and now our task is to check the correctness of the created email campaign.
The first block is called “Sender and subject”, we check the data, and if you need to change something, click on the pencil in the upper right corner.
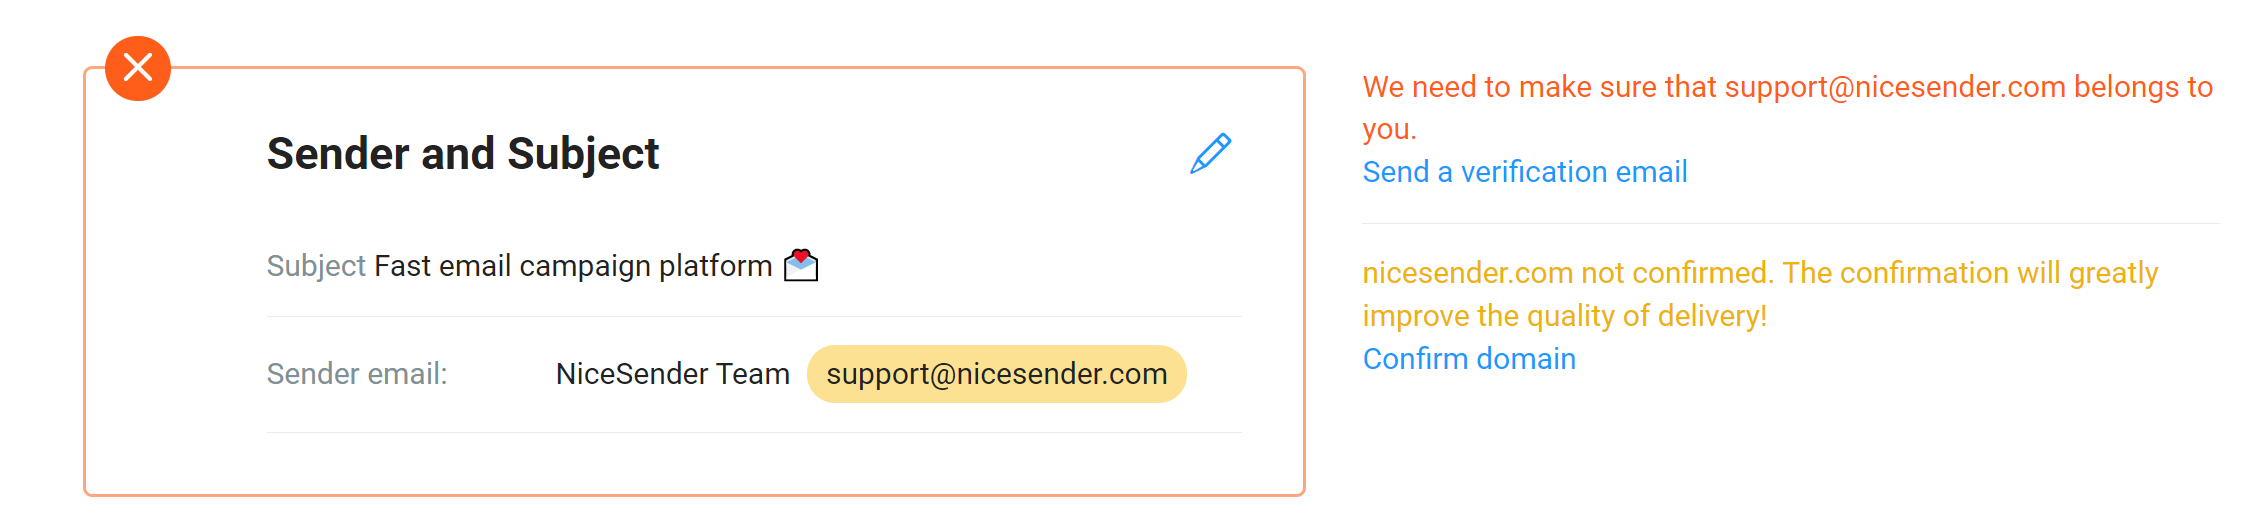
The block is marked with a red frame, since the address support@nicesender.com is not verified, I recommend “Verify domain“. The verification link is to the right of the block.
The domain needs to be verified once, emails from a verified domain are more likely to get into the inbox.
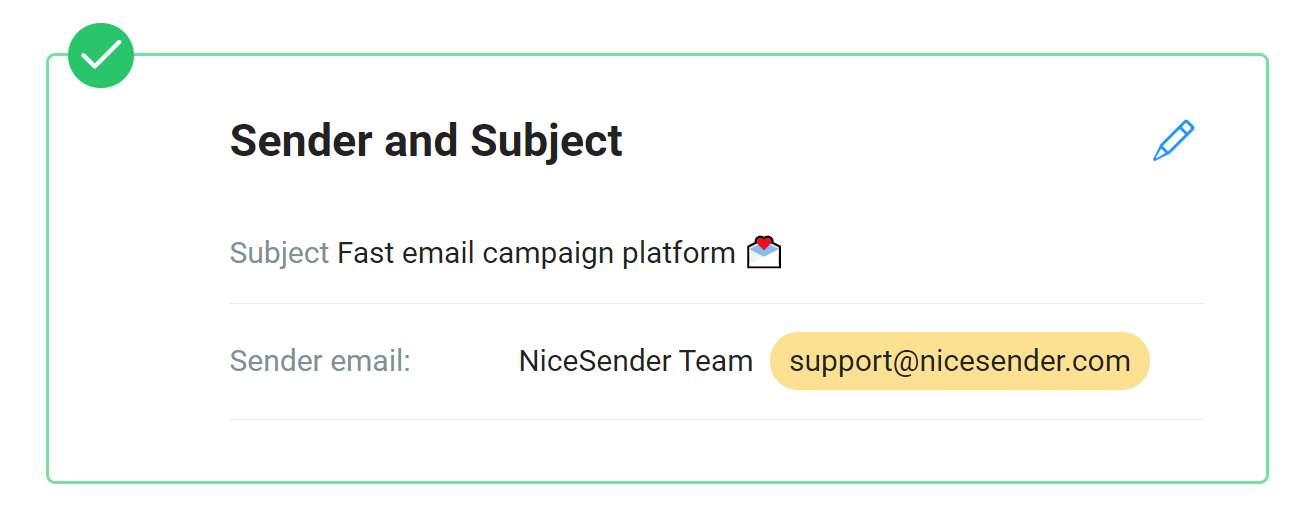
After verification of the domain, a green checkmark will appear in the upper left corner of the block.
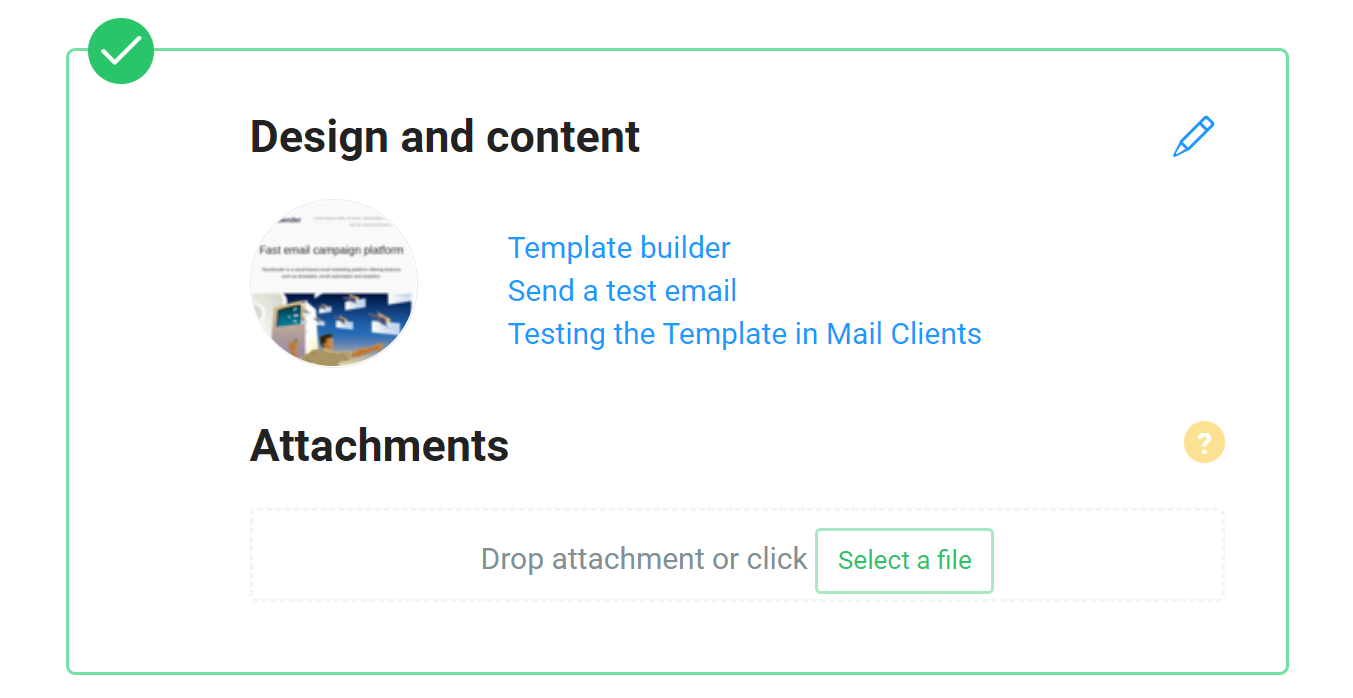
The next block is called “Design and content”, in it we see the image of our email, we can start editing the template or send a test email to our email.
But the main thing is that in this block we can add attachments.
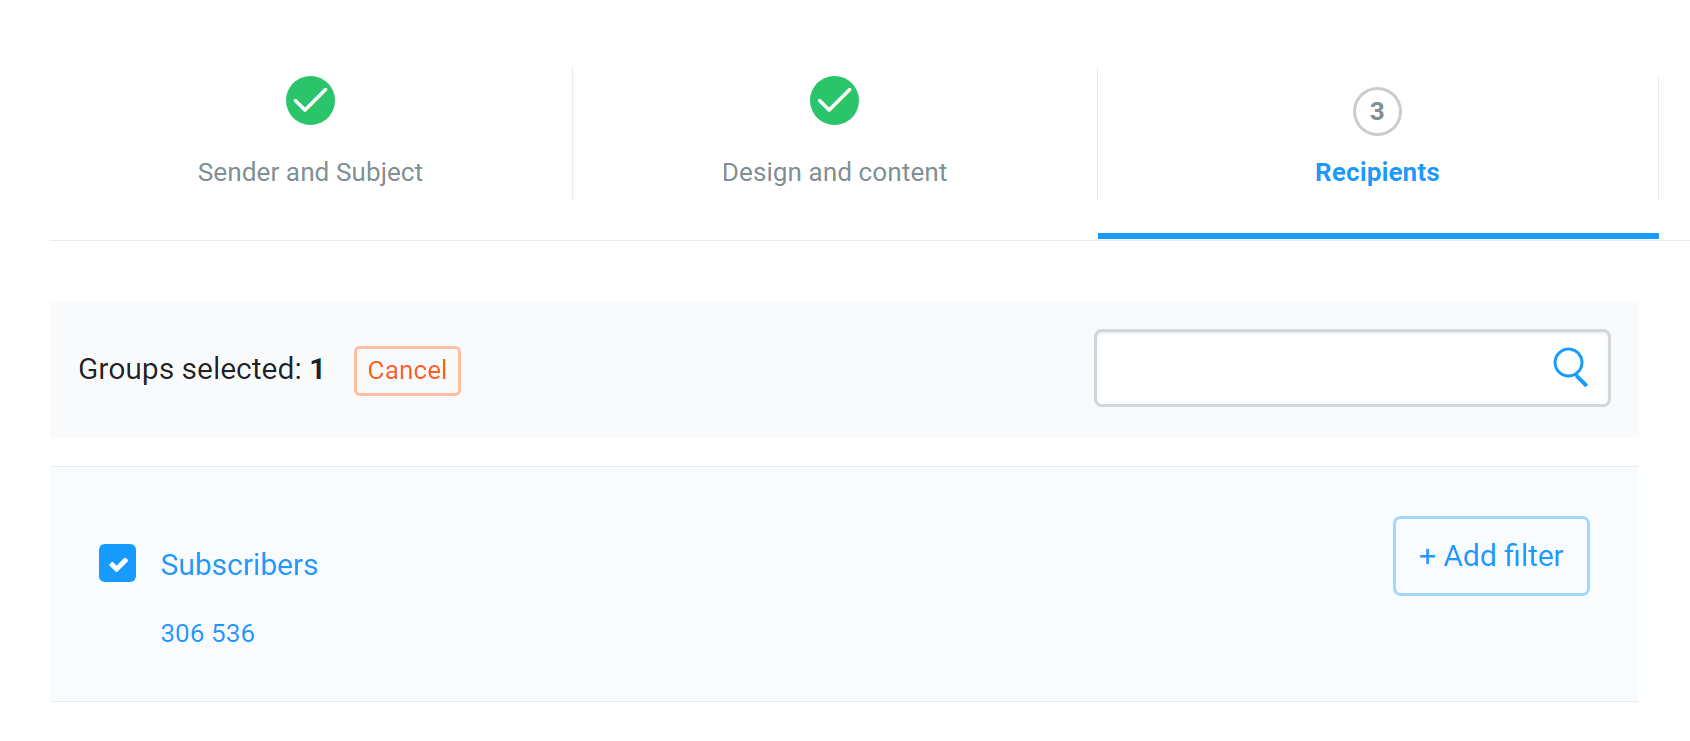
The last block is called “Recipients”. Since my email campaign is much larger than the free plan, I need to upgrade the plan.
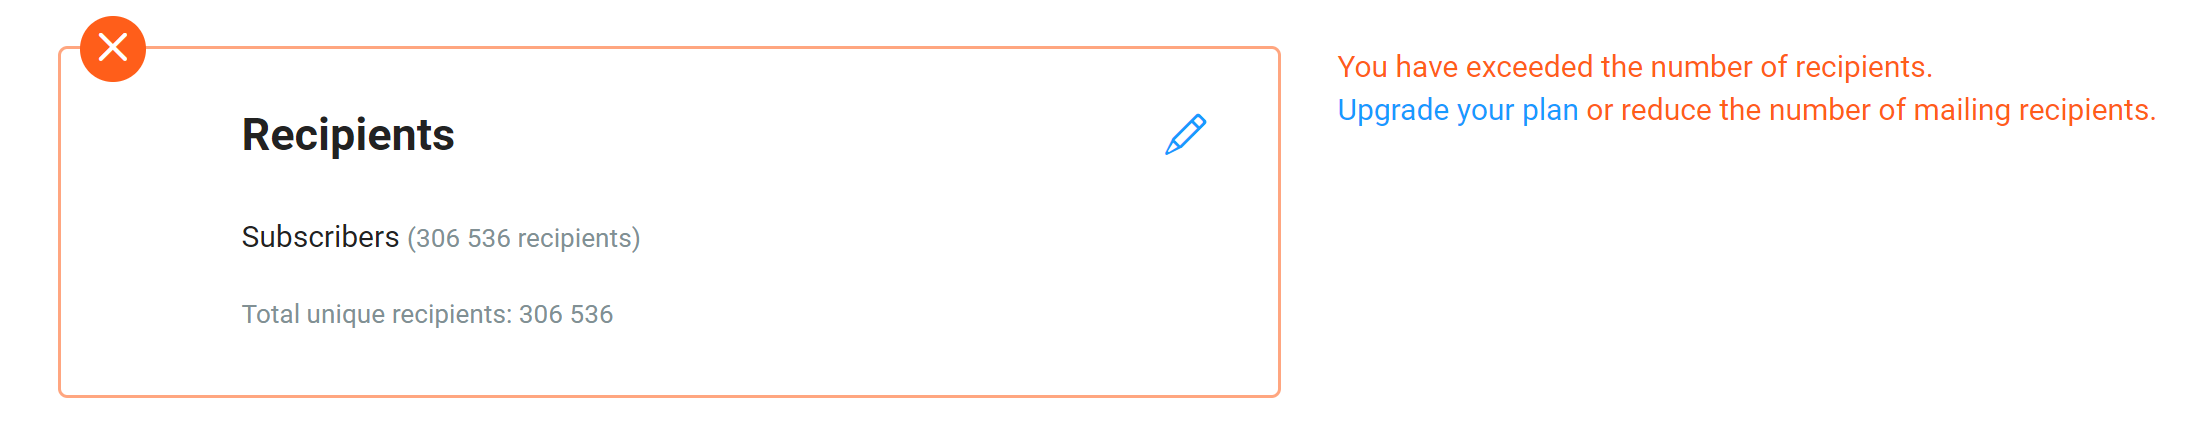
To do this, follow the link “Update the plan”, choose the appropriate plan and pay for the purchase in any available way (by bank transfer, bank card, etc.).
After paying a charge, we can start sending.
The campaigns can be sent now or scheduled for a specific time.
After the campaigns are sent, you can view the statistics.
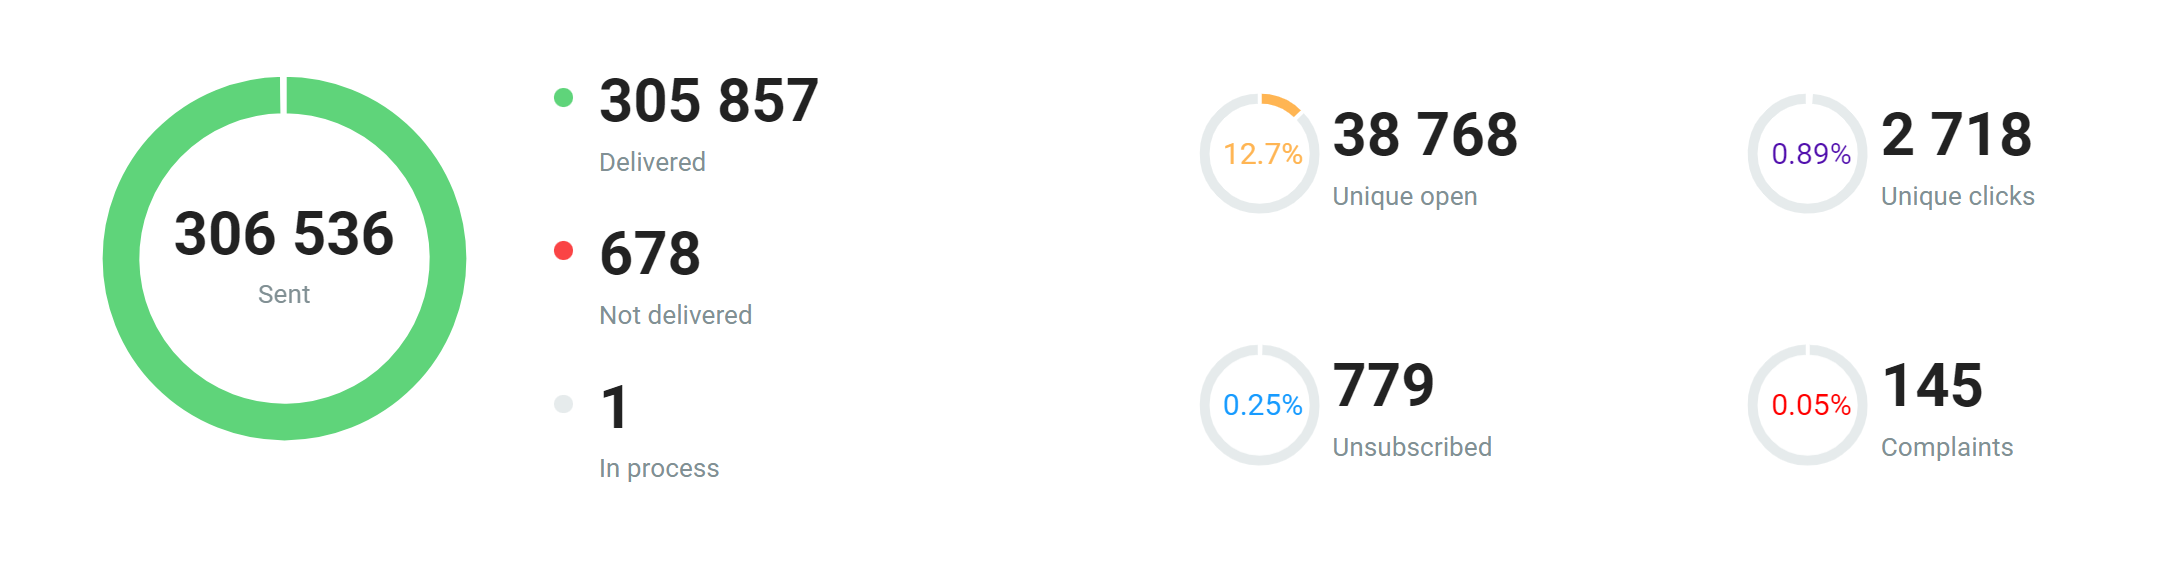
Here we see that almost all emails have been delivered, some of them have already been read, and there are even first clicks on links.
I hope this article will help you create your first email campaign and all your emails will get into the inbox.